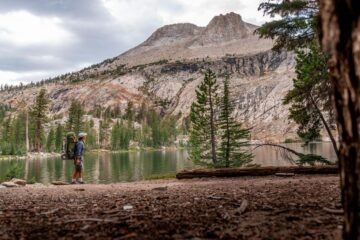
There’s nothing quite like cozying into your sleeping bag on a backpacking trip in Yosemite. Maybe the stars shine brighter without the glow of city lights; maybe the sounds of the forest lull you to sleep instead of the whir of cars you’re used to; or maybe you’ve found a camp spot with a one-in-a-million view and it’s all yours for the night.
Whatever draws you to backpacking, we’re happy you’re here! AND we want to make sure that you’re prepared and having fun on the trail — whether it’s your first or fifty-first trip. If you’re a backpacker of any level, use these recommendations to (literally) take the next step in your backcountry journey.
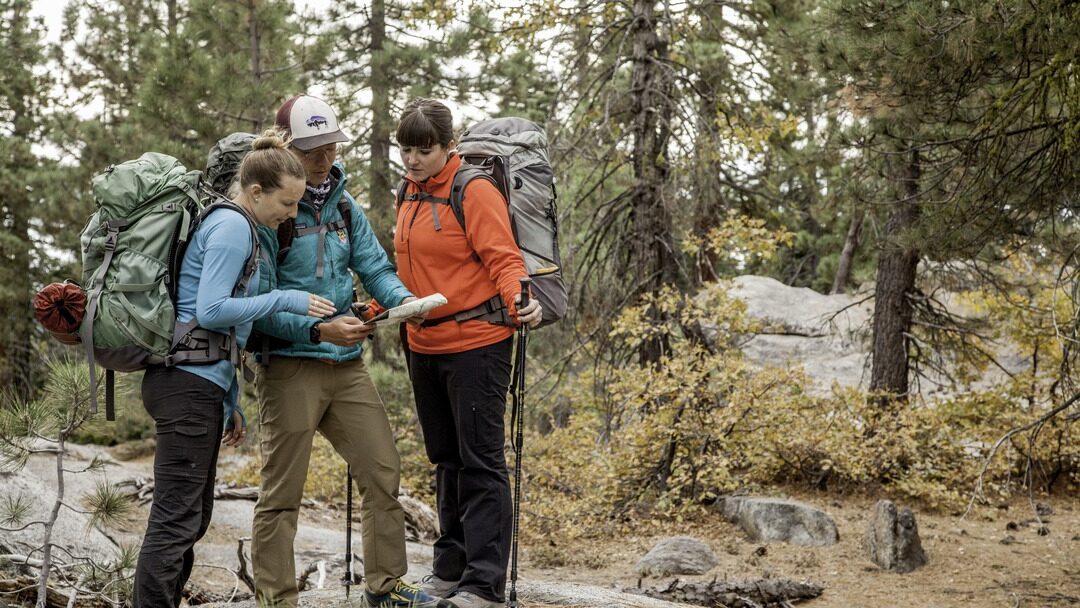
Photo by Keith Walklet/Yosemite Conservancy.
Yosemite Backpackers Must-Haves
- Permits.
- Bear canisters.
When hiking in Yosemite National Park, please remember that a wilderness permit is required year-round for backpacking trips. So the first step to backpacking in Yosemite is obtaining a permit!
Learn more about how to get a wilderness permit on the Conservancy’s Wilderness Hub. The Wilderness Hub is an online resource full of important information about trip planning, how to get a wilderness permit, Half Dome permits, and John Muir Trail (JMT) information.
In addition to a wilderness permits, you need to plan how you will store your food on your backpacking trip. Bear resistant food containers (“bear canisters”) are required for overnight hikers throughout the Yosemite Wilderness.
Yosemite National Park is home to hundreds of American black bears. Yosemite’s black bears can consume up to 20,000 calories per day and they can smell food from over a mile away! Obtaining human food can result in a bear becoming aggressive and sometimes they will have to be killed as a result. By storing your food properly, you can help to keep our bears wild and prevent a bear’s unnecessary death.
If you don’t have your own bear canister you can rent one from any Wilderness Permit Station for only $5 per week when you pick up your permit.
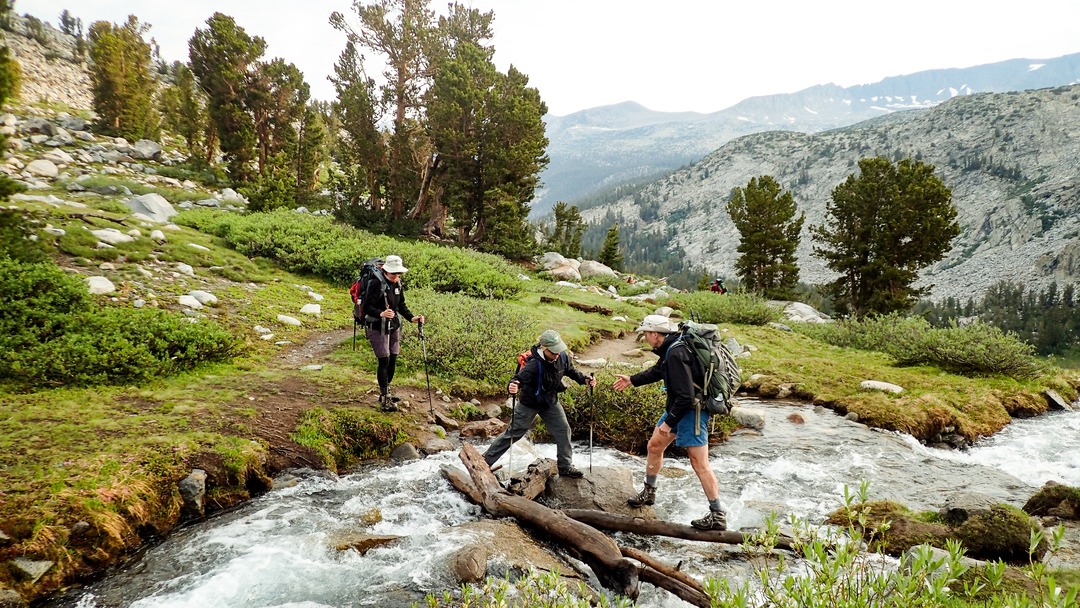
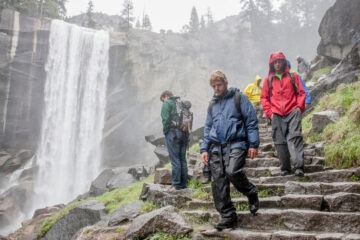
Photo by Roy Williams Photography.
Beginner Backpackers
- Start small.
- Pack the essentials.
First of all, congrats! Getting into a new hobby is a fun, but sometimes intimidating adventure. Remember to start small. Hiking with an extra 20 to 40+ pounds on your back isn’t an easy feat. Even if you’re used to hiking 12 miles in a day, start with something smaller — maybe four to five miles per day — and without a lot of elevation gain for your first backpacking trip.
If that seems too big, start even smaller! There are a few trailheads in Yosemite where you can camp 2–3 miles from the trailhead. When planning your trip look at the trailhead information to make sure you’re selecting a trailhead with a distance you can cover before needing to set up camp.
A few great beginner trailheads include: May Lake and McGurk Meadow.
After selecting your trailhead, the next step is to make sure you have the right gear to make sure you are safe and comfortable. Things to consider include: first aid kits, layers of clothing, head lamps, a bear canister, and and make sure you have a proper water filtration kit, there aren’t any faucets in the backcountry.
Obtaining all of the needed gear can be a big obstacle to backpacking. It might be useful to rent gear from brands like REI, Sports Basement, Echo’s Yosemite Basecamp Outfitter, or Kit Lender for your first trip.
Need more gear and planning tips? Check out our gear rentals blog and our backpack packing video where naturalist guide, Marty Anderson details everything you need to bring on a backpacking trip.
Does this feel like a lot? Starting your backpacking journey with an experienced friend or naturalist can help ease the learning process and boost the potential for fun. Yosemite Conservancy offers a variety of beginner backpacking experiences — from overnight stargazing to two-day, low-mileage trips and step-by-step introductory backpacking programs. Find inspiration or the perfect first trip on our website!
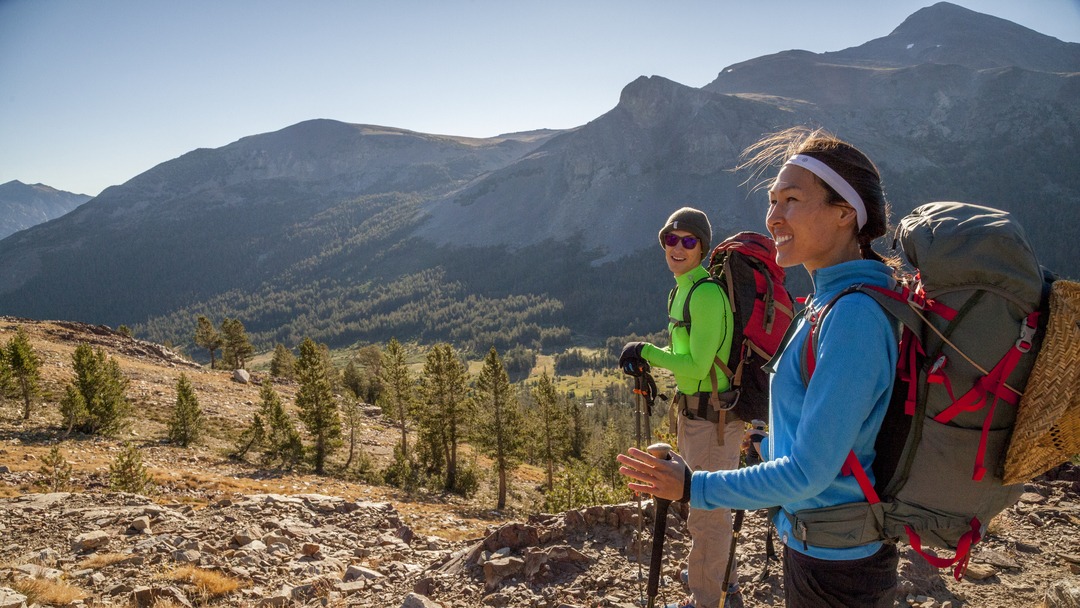
Photo by Keith Walklet/Yosemite Conservancy.
Intermediate Backpackers
- Add more miles and/or days.
- Meal plan like a pro.
- Double check what you really need.
So, you’ve done the one-nighters and low-mileage trips and you’re ready for more? Start by upping either your mileage OR your days. In other words, don’t go from 1-night, 10-mile trips to signing up for the Pacific Crest Trail (PCT), as this could cause you to overwork your legs and back.
Also important at this level of backpacking is your gear and nutrition.
Packing smart to lighten your load will make the journey feel easier. This doesn’t necessarily mean “go out and buy expensive lightweight equipment,” but it does mean you might want to leave your second book behind and be thoughtful about your total pack weight.
High-calorie meals will help you feel stronger, and ready to take on more miles or more days in the backcountry. Calorie-dense foods that can help up your backpacking game include nut butter packets, tuna, or nut mixes. Some backpackers like to use electrolyte mixes to rehydrate faster during days with big miles or big inclines.
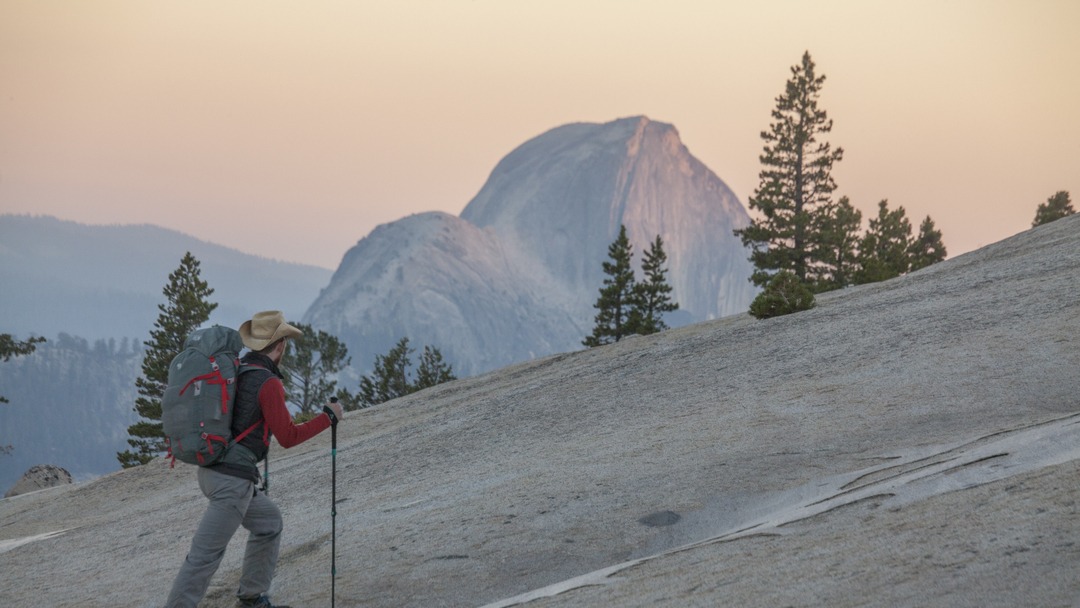
Photo by Keith Walklet/Yosemite Conservancy.
Experienced Backpackers
- JMT here you come!
At this point, backpacking is like a second language, and double-digit mileage trips are part of your vocabulary. As an experienced backpacker you’re (maybe) looking for multi-day, high-elevation, heart-pumping adventures, and Yosemite’s backcountry is full of breathtaking options for you. Dipping your toe into long trips takes careful planning and an understanding of trail safety — make sure you know exactly where you’re going and where water is along the trail (and make sure you have a proper water filtration kit, there aren’t any faucets in the backcountry).
Dipping your toes into long trips takes careful planning and understanding of topography, meal planning (and packing all the meals into a bear canister), and an understanding of your abilities.
If you’d like help getting started, a custom backpacking trip with Yosemite Conservancy might be a great option. Our guides will plan a one-of-a-kind adventure for you to immerse yourself in the beauty and wonder of the backcountry.
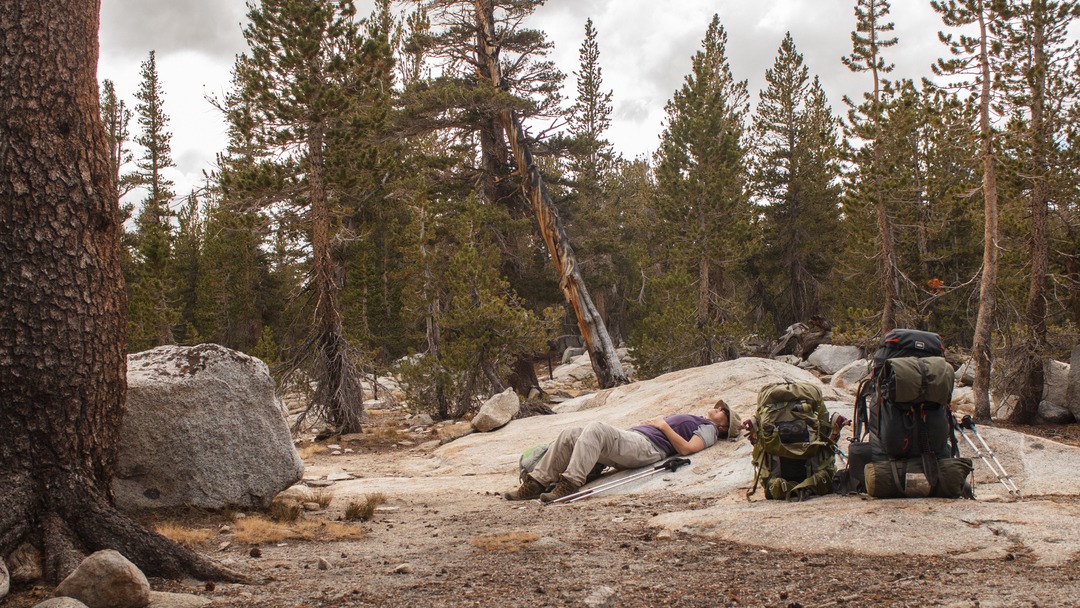
Photo by Yosemite Conservancy.
A Few Final Notes
At any level and on every trip, remember to practice the Leave No Trace principles — for example:
- Camping on durable surfaces.
- Packing out your trash including toilet paper.
- Storing trash in your bear canister while in the backcountry.
By following Leave No Trace principles you help to minimize your impact on the outdoors while backpacking.
It is also SO important to remember that regardless of your experience, you are a backpacker! If you try a harder trip and realize that the one-night, low-mileage trips are more fun for you, ease on back. Whatever kind of backpacking brings you the most joy, is the best kind of backpacking.